Saturday, March 30, 2013

Two more Chisel tops

Another late night of sewing- lol  chisel circles is almost done, just need to decide if I want another border and if so, what.

 I had started to do a ribbon border but didn't think there was enough contrast.  So....I sewed the ribbons together and bordered them for a small couch size piece.
I am down to the bottom of my chisel pieces, I either need to get on a different kick or bust some stash.  Maybe tonight I can cut up some blues and make the chisel flowers.  Wonder if that will get it out of my system.  Wonder what die I am going to play with next!!  What would you do?

Friday, March 29, 2013

chisel circles die cut

Not a real tutorial but if you are like me and can get inspired by photos- here goes---(yes I know you get the same effect by adding triangles to the opp. corners of a sq)  I already had the chisels cut so I am working this shape-  you can use different fabrics for the two pieces.  Mix it up it all turns out great.

The stripes matching is purely accidental- just goes to show how accurate this die is!


 I am slowly getting to the bottom of my chisel bin.  Looks like I have just enough for a couple of more scrappy tops after this one :)
I pulled a handful of light colored triangles for my corners.
chain sew, make sure you have bobbin thread every once in awhile- lol

I had 80 sets pre-cut so this top will be sew 8 x 10 blocks

If case you are wondering why my machine is set on a place mat.  The answer is I am sewing on the dinning room table and I can just push the machine out of the way if I need the space.  This machine is a cheapie from Walmat and I have gotten a lot of mileage out of it.  Great stitch and good speed.  Scrap quilting doesn't need to be expensive.

Wednesday, March 27, 2013

borders borders border! Thanks GO dies

I have been having fun with the Chisel die.  I love that you get lefts and rights when you cut multiple layers.  I have an on going 'pile' that I am working my way through.

 The majority of this top was made using all the same shape.  Even in a scrap quilt you can control several elements and get a great over all look.  For this one I used 4 same fabrics in each 'star' and used same orange triangles with each star.    The borders are made using both rights and lefts of the prints with random orange triangles.

 This top was made awhile back up I 'found' the perfect material for the outer border (it was precut in a stash that was gifted to me- lol)  I did purchase $5. worth of black.  Almost all from stash.
I had two yards of this green with sunflowers on my shelf, Now half is on the quilt and the rest is going to get worked into another scrappy quilt!
I wanted to play with solids, I think I wanted to sew more then cut.  This will make a nice size baby quilt.  Next time I will power through and cut enough for a bed size.  I think I have a grand kid or two that would enjoy colorful and scrappy!

Wednesday, March 20, 2013

Chisel die, great for making braids!

A couple of summers ago, I die cut a bunch of chisel shapes.  I think I was trying to get material for my Dear Jane and had time to try out my die cutter.  I made a back for my Dear Jane (finished the back but the DJ is still a work in progress)
To make a short story longer, I pulled out the chisels and played a bit.  Now I have two tops to add to my get it quilted and give it away pile.


This braid looks like it needs some applique, wish I had thought of that before I sewed the top together- lol  Flowers, birds, dogs or cats?  I would say let me sleep on it, but I bet I forget in the morning!  As is this top is about 72" x 72"  I may do one more border of the cream and bring it up to 84 x 84.

Monday, March 18, 2013

scrappy star chisel die and a book Give-A-Way

Cyber Quilting Friend Erin, did a book give-a-way last week.  Imagine my delight when I opened the mail!  Hubby wanted to know what I 'had bought now'- lol

I have only made one 'feathered' star and had to paper piece it.  I think I can get ideas from the books I received and figure out a way to die cut my triangles for a future TO DO.

She also sent me Country Weekend Patchwork Quilts.  I love fast and easy quilts.

So here is my humble Pay it Forward.  Give me a week to kit up some future quilts from the Weekend Patchwork book and I will send it along with another book from my shelf to one of my cyber quilting friends.

 Since I haven't picked out the second book yet, tell me what you would like to have and IF I can I will share.  Disclosure, I am pretty selfish so don't even ask for any of my Bonnie Hunter books-  just kidding, you can ask, I will say 'NO".

I think it is safe to ask for applique or scrappy or etc......  surely there is something I can pass on.

Now on to the important issue of my day.  Do I add borders and if SO, what?  I have quite a bit of the scrappy chisel pieces cut.  Not very much left of the yellow in the stars, maybe enough for a narrow border(?)  54 x 72-ish

Monday, March 11, 2013

Stained Glass project- Trout?

This is a pattern I picked up in OKC when I purchased the Craig's List glass.

My 6 yr old Granddaughter, Karlee picked out the colors.  I still have a lot to do before I can gift this 'catch'.


Even Strained Glass fish need a good cleaning.  This one needs waxed too!!

Friday, March 8, 2013

Craigs List Buy- Thanks OKC!

A couple of weeks ago when I was headed to OKC to visit the folks, I placed an add requesting Stained Glass Misc. for a newbie.  (I am the newbie- just started this past fall 2011)

I got the nicest call a couple of weeks later from a couple who were wanting to clean out their garage.

I cleared my schedule on a day that the grandkids were out of school and took Tyler with me to load the trunk.  I think he also rode along to make sure we stopped at every McDonald's on the way.


 I have to brag that this was well worth the trip.  I will be working stained glass with the grandkids for many years to come.  I am now all set with good tools and a few extras!  There were several patterns that came home with me.  One is on track for being my TO DO this month!  More on that later.......

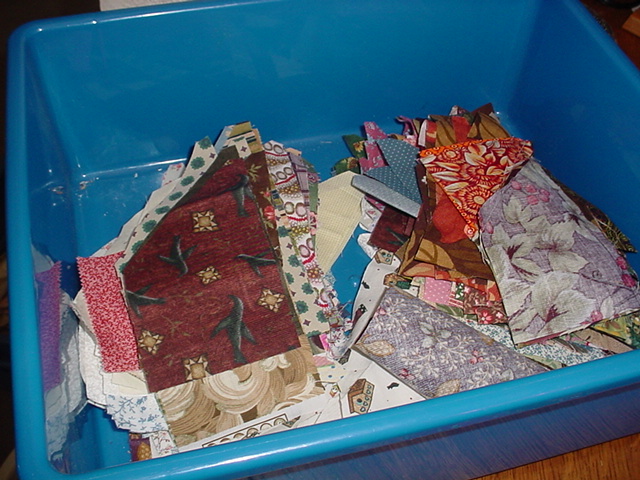
Springfiled, MO has a stained glass shop that sells scrap glass by the pound.  Whenever I am close I stop by and pick through the bin.  These curvy pieces came home with me.  I used an 18 inch glass tile to make a mosaic.  Not quite a 'flip a coin' but I did make sure if I picked up a piece I had to lay it on the tile.  Nothing was cut, even the smaller filler pieces came from the scrap pile from projects in progress.

 My glass scraps are starting to compete with my fabric scraps, it may to time to take over another room in the basement for my new hobby!!

This is the first of two lamps I hope to restore and use either in my home office or in my sewing room.  We will not hold our breath.  Both look doable but I do have a bad habit of thinking and not doing.

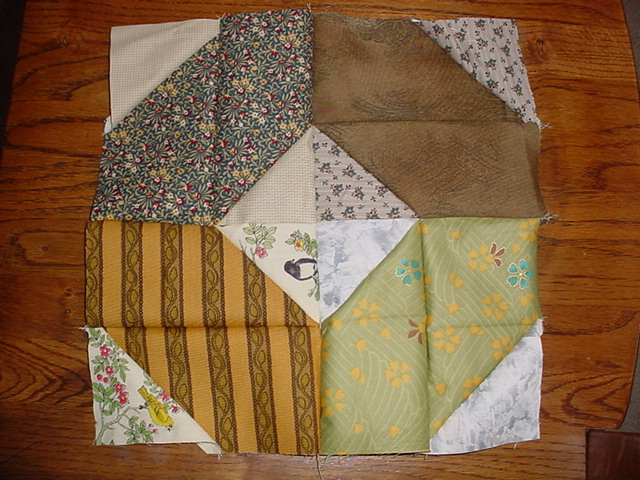
 and..... on the Quilty side.....  This is a resuce quilt and needed to be a cutter quilt!!  I decided to try and patch it instead of cut it up.  I used my GO chicken die and appliqued the birds to plate size circle of fabric.  i figured it would be easier to sew circles then chickens to the quilt top.
 I tried to use material that would look like it belonged.  I will add a new back and use an old blanket as the batt.  I hope to keep the older look and feel but end up with a useable utility piece.  I also tried to deal out the rooster/hens and plates in a way that it isn't real obvious that this is a 'fixer upper'. 
Not much contrast but it looks good from the road- lol