Don't ask me why I am up so late posting- it's a long story. I just did a quick write up about using strips to make a utility quilt to have for picnics (all who like to picnic say "I").
Here is a quick tutorial on how my brain works late at night or how to have fun with someone else's strips.
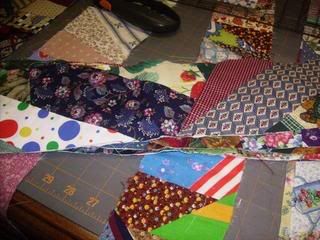
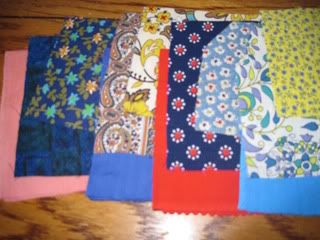
I had several strips of different
widths from my friend, HOPE's stash. Over the years when I laid them out, I imagined I would follow in her stitches and turn them into pot holders or table runners (how fun would that be to use decorative stitches on the seams and have a lovely piece to have out when company comes to dine) A table runner was highest on the
TO-DO list until I realized just how many seams there on these babies.

Not only were the pieces different widths, they were all different lengths too.
I decided to limit myself to an hour start to finish. This is what I decided to do:
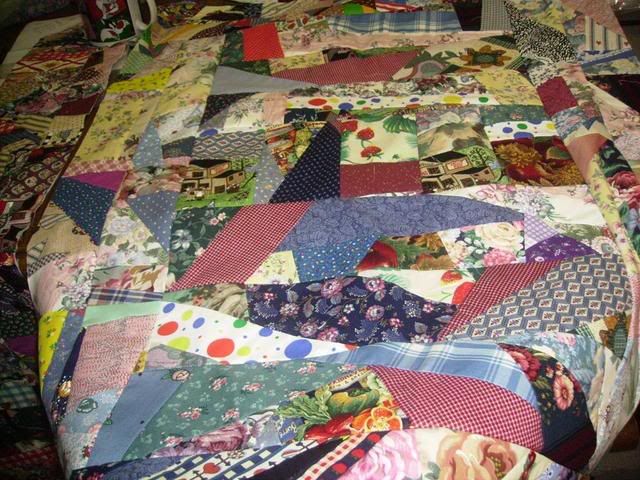
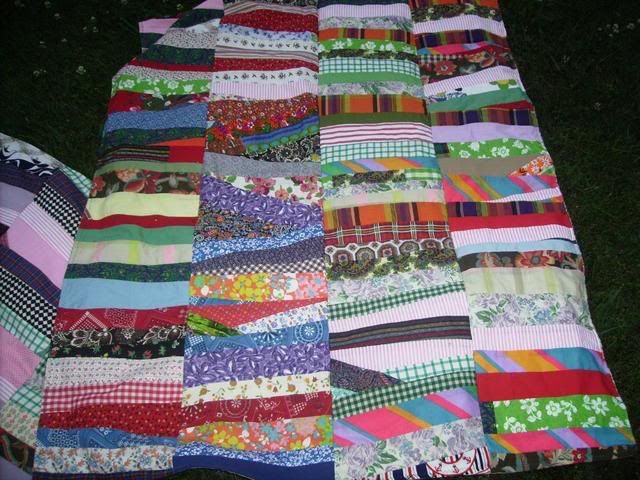
There were 6 small strips all about the same length. I sewed 5 of them together to form a rectangle for my middle. (Not "My" middle, the middle of the quilt) At this point I am leaning towards a rug that I can use as a gift.
After the 'center' is sewn, I straightened up the edges to prepare it for the next strips. I decided to add rows in a court-house style. This way I didn't have to worry about width of each row. Sometimes on the thinner strips I would sew two together before I added them to their side.
I trimmed up the edges each time but didn't 'worry' about width. I planned to use the longer pieces to start going around log-cabin style. (But I didn't) Don't you just love a having a plan and not sticking to it?
After a couple of court-house rows, I had to make a choice between having material for two rugs or one small quilt top. Even though I really need another rug (just kidding) I went with the small quilt idea.
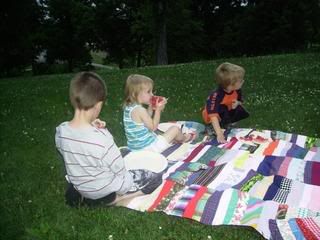
After all the rows were added it measure a whopping 42 x 48 (ish). I can't wait to pick out a fabric for the back- this one is going to get a cotton back and machine quilted with a batting to make it thick enough for a play quilt (if I am good enough to share with one of the babies) or make a travel quilt to carry in the car.
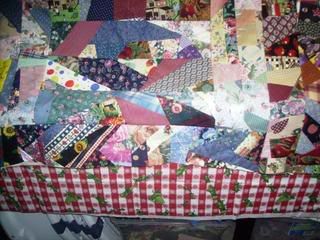
Here is the top laid out on its new backing. I 'found' a fun material that is 60" wide. Not the traditional "ants coming to a picnic" This one is jolly green grasshoppers- probably a good thing I stopped to jot this down, maybe I can sleep on it and change my mind as to the backing in the morning. (For some reason that fabric is starting to 'bug' me.)

See what I mean.....
Keep it
or
Sleep on it?
I am open to suggestions- cw

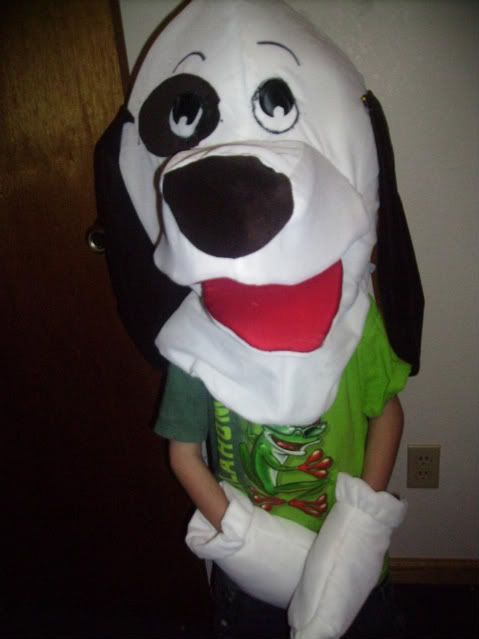 We are getting ready for a VBS at church this week. Here is my grandson, Lane, modeling the mascot costume. I have made mid-size puppets in the past and when asked to create the dog head, I had no problem saying "OK".
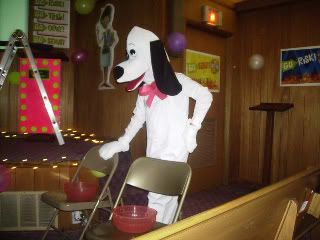
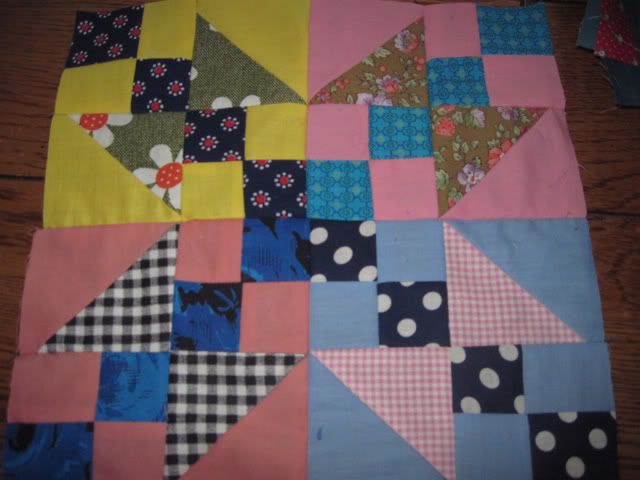
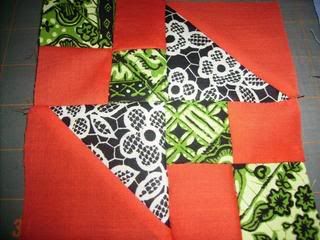
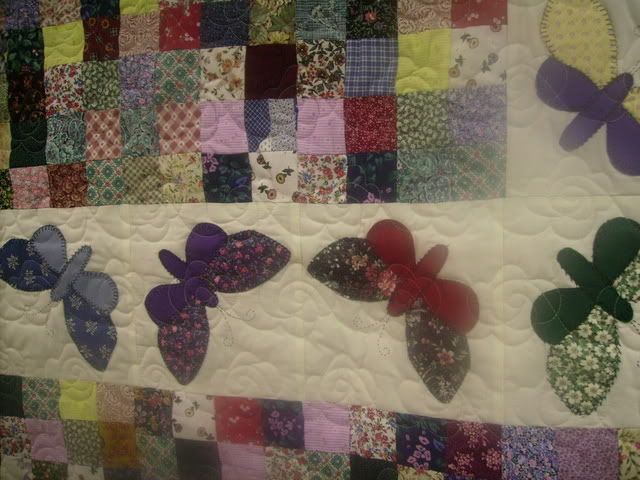
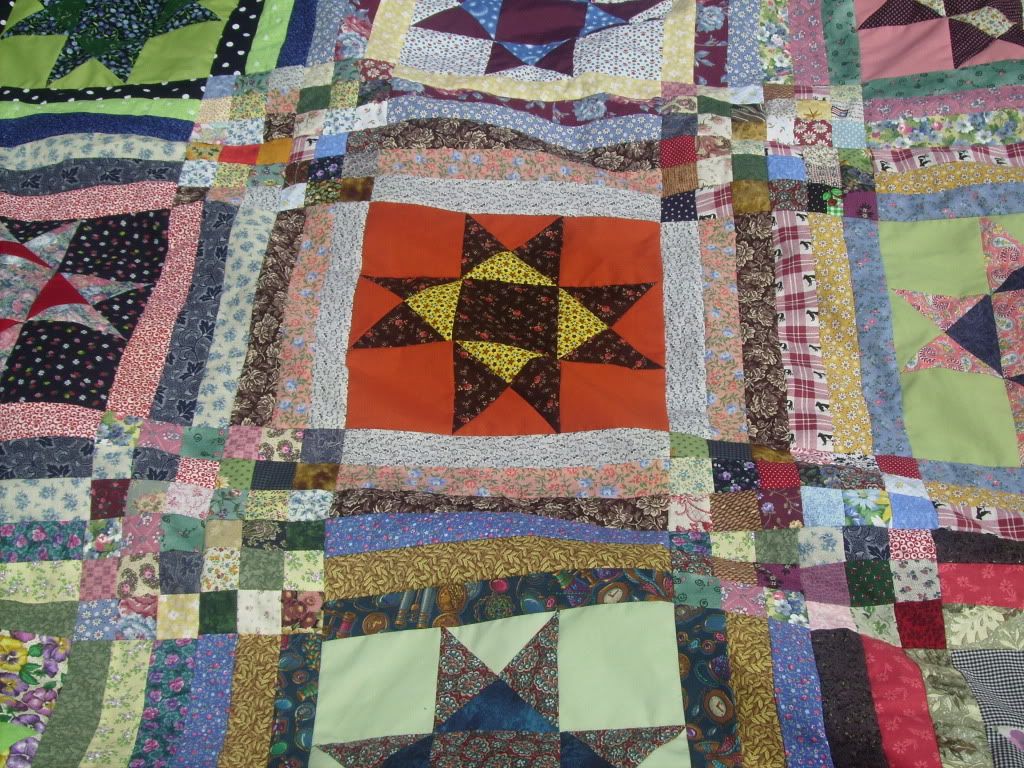
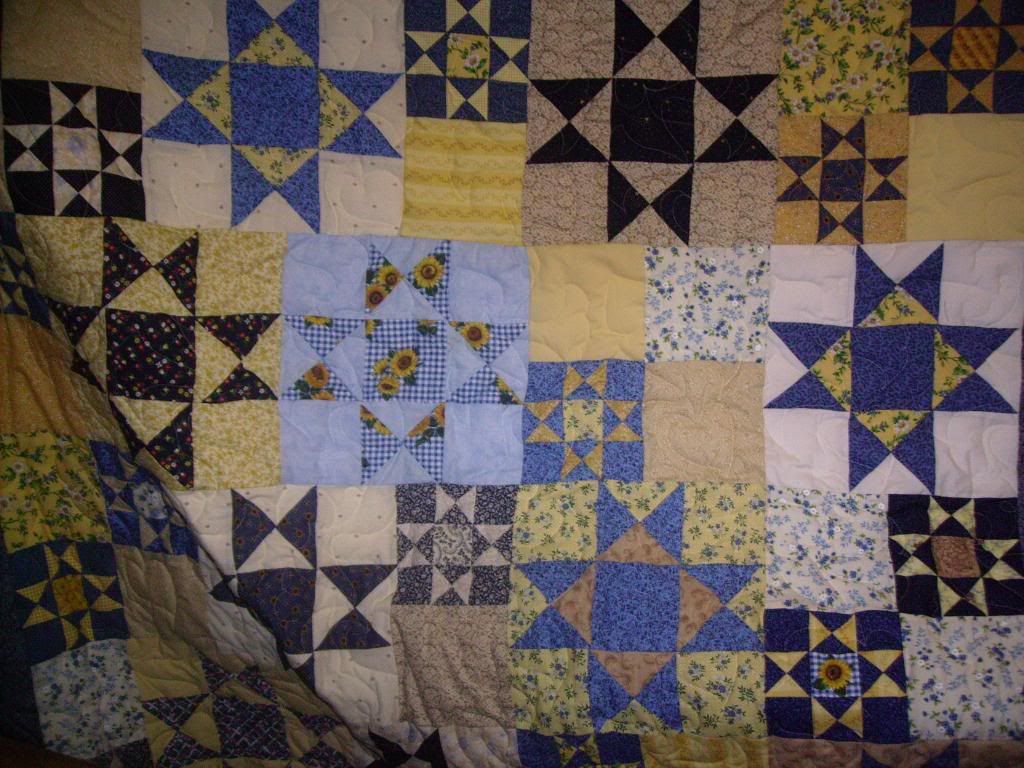
 I always say if you don't like a fabric you just haven't cut it up small enough. I think this plays very nice in a 1 3/4" setting sq. with a matching size black strip.
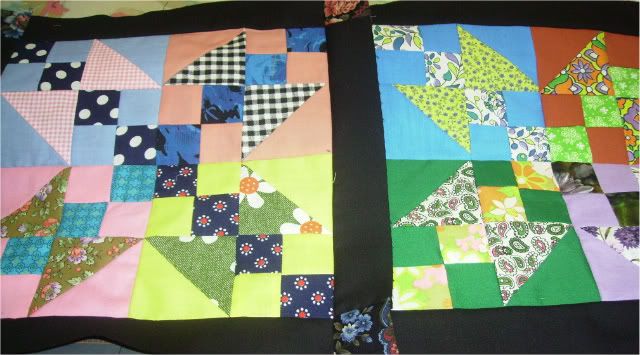
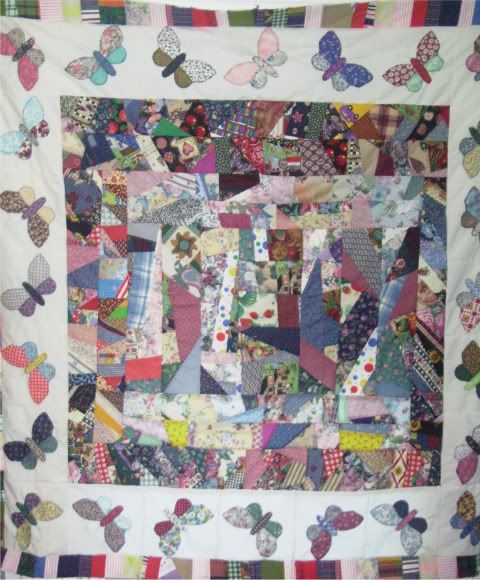

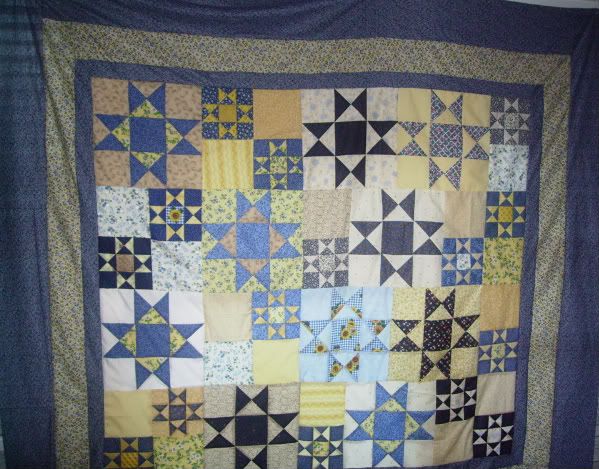
 Amazing what a border will do to enlarge a top. 2 1/2 inner 4 1/2 middle 6 1/2 outer borders was an easy way to add 24 inches to this piece.