Saturday, March 27, 2010

Yardsale find, Lone Star needs background

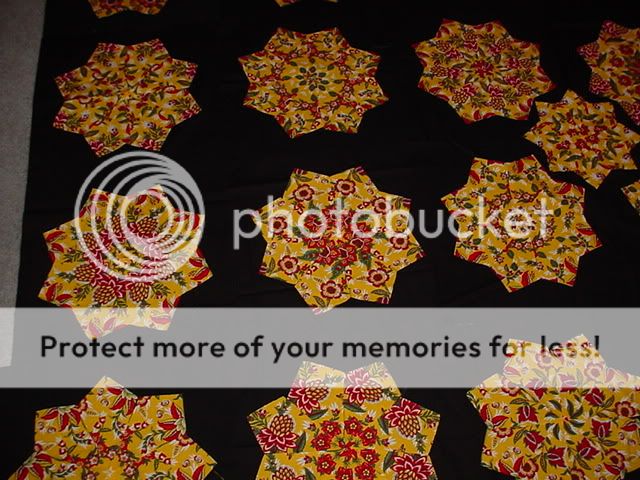
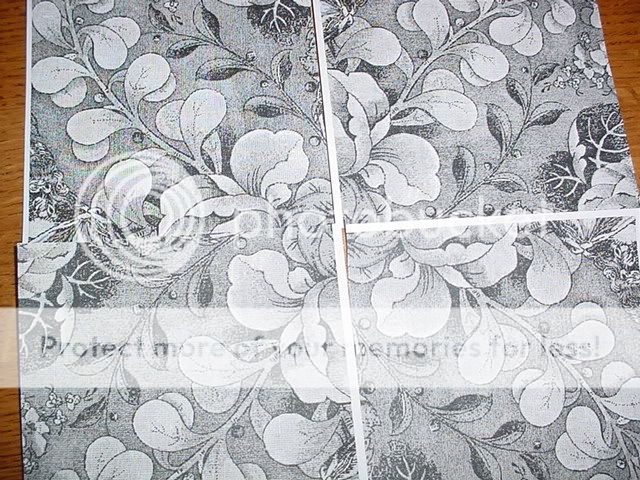
I decided to go with a flat black for the corners and sides. The print went on the back and will brought to the front for binding.- cw


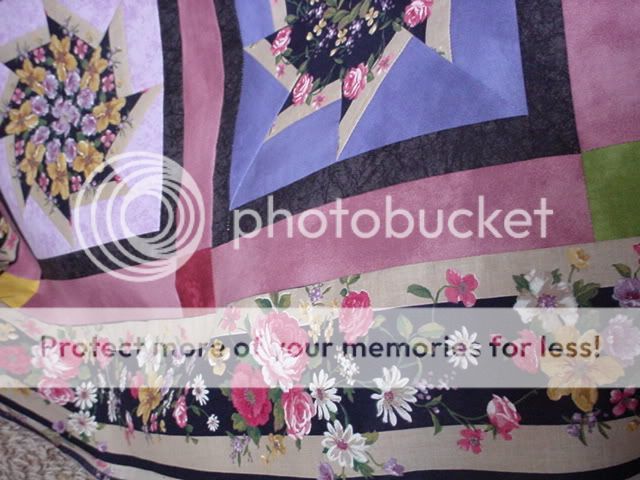
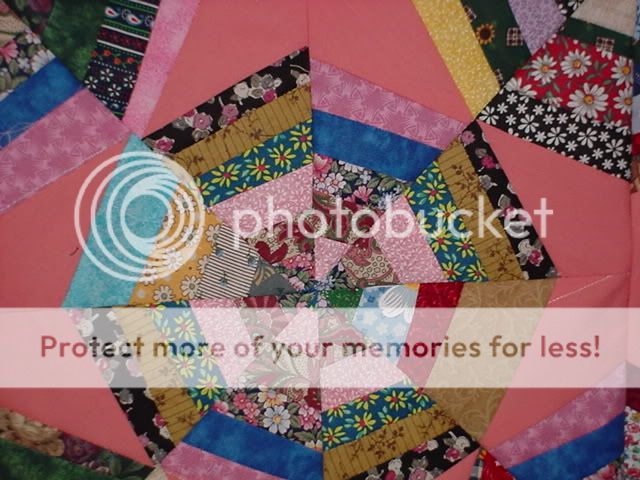
I Picked up this 'star' at a yard sale for $5.

It lays out flatter than this picture suggests.

I had no idea as to what background to try use. My creams look to close to the lights and I really didn't want to go white.


I considered black.


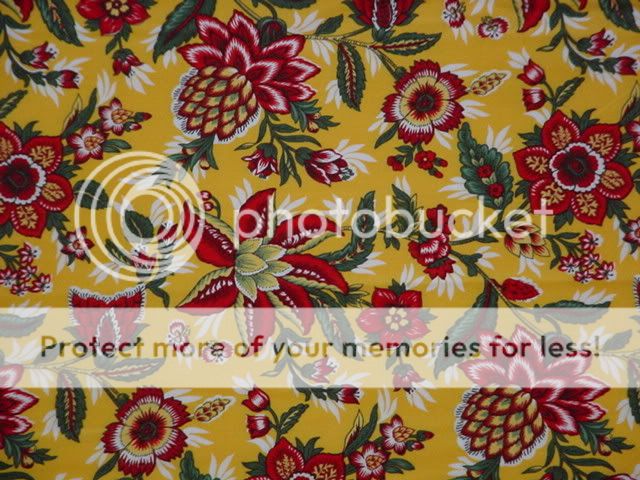
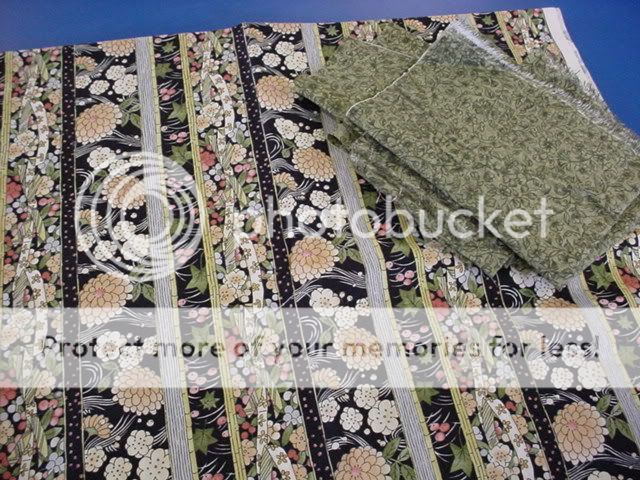
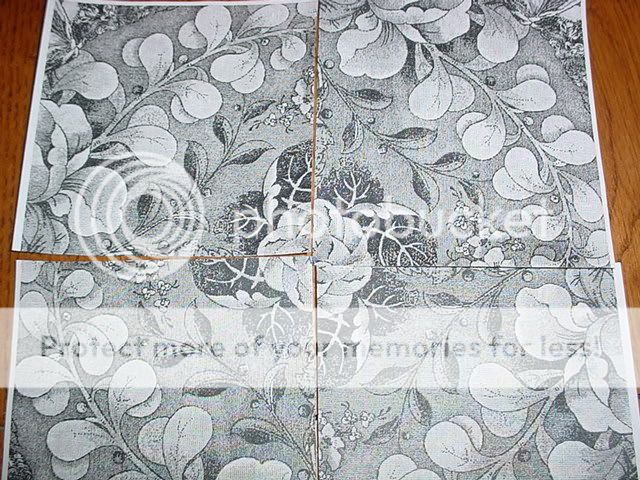
Mary made the suggestion that I look for a print to busy it up a bit.


Lane and Karlee went with me to the big box store and helped pick out the fabric. It has all the colors of the star and a bit of green too.


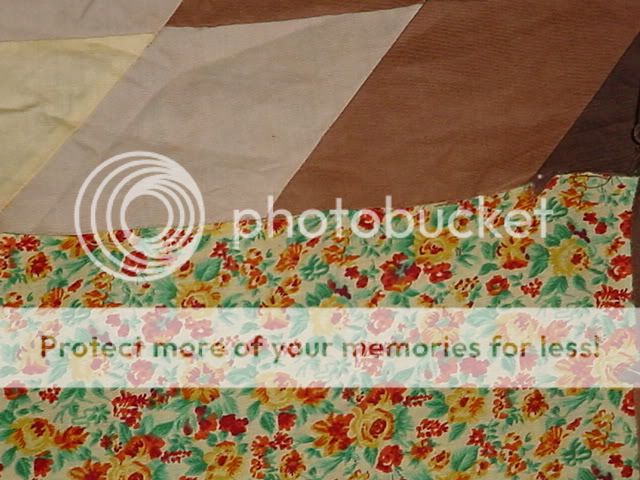
The kids were rather pleased with their selection. I was too. Enough so that I purchased enough to do the back too.


Mary M's quilts(I need a quilting suggestion)

I dropped by to visit good friend, Mary M.
I am so glad I had my camera with me b/c she has been a very busy gal.
Look at the beautiful piece she has hanging on her front door.


Mary has been doing her 'homework' from quilt class.
This is the focus fabric she chose to work with.


Her Stack & Whack blocks are just beautiful!

I am so jealous that she has her top finished!
This quilt is so beautiful it made me tear up, it just takes my breath away looking at it.
I love how she fussy cut to get the faux border on her plates.
I can't wait to see how she decides to quilt it.
If you have any suggestions, we are open to them.
Mary does Free Motion on most of her quilts. She also has access to my big machine. Mine does better with border to border continuous line patterns (no stitch regulator). What would you do and why/how?
I told her I could get several suggestions before we meet again for quilting.- plz don't leave me hanging. - cw

stacked, cut and appliqued


What a fun fabric to get to play with.

This one is growing on me. I loved the original fabric


I even kinda enjoyed sewing the plates.


Finished size is 72" x 72"


I have no idea "who" this is for, or even if/when I will get it finished.


For now, I am giving myself two points for getting it to flimsy stage in less than a week.


There is just enough of the print to make a small binding.


Now I need to get motivated to work on the blue Dresden. That one has an intended recipient. - cw

Sunday, March 21, 2010

Snow Day = stack and cut DAY #2


I love snow days, I got to spend the day at home. This is the second layer and cut style top now all cut out. I am doing a raw edge applique on mine b/c I am NOT into persion piecing.

My layers are a bit off but not too bad. The decorative stitch should hide a bit of the distortation.


I will have to made the secondary blocks a bit smaller to fit after the big blocks are sewn together. I may decided to use the smaller ones as a border or even a separate top. For now I have it cut out, what I do next is anyone's guess.- cw

Saturday, March 20, 2010

Dresden Plate -layer and cut


I am working on a stack and whack class and this is one project that I am making. I was thrilled last night when I 'found' the yellow fabric in my stash to use as the center circle.


I am over half done cutting and laying out the petals. I need to decide if I am sewing with white or black thread when I raw edge applique. This top takes 25 plate blocks, 12 half plates for triangles and 4 quarter triangles to set it on point.


Dresden Plates have been a favorite TO-DO out of scraps, this is the first 'controlled' quilt in this style I have attempted with yardage.


Totally from stash- the 5 yards of blue were purchased in 2002 to use as a backing. I somehow don't think that project got very far!


I think I have enough yellow to do a narrow border (or poss binding) I saved enough strips of the original fabric to add 6 inch outer borders to show off the print.


Here is a scrappy one to show off. I just love the orange swiss in the circles.


Thursday, March 18, 2010

Stach and Whack fabric pre-view


I love this fabric and hope to doing something with a FAN look. I have played around with photo copies of the print and am liking how it looks so different cut into wedges.

One of FOUR TO-DO's during out group layer and cut class.


This is a very traditional print for layering. I am not sure which pattern I am going with.

Most likely will use a light purple as the accent fabric and gift this one to favorite daughter-in-law Kelly.

(I don't think I have made her a quilt yet this year- lol)


Hopefully this one is going to be MINE! I just love this shade of blue. First choice is to do a Dresden Plate, applique to the cream background.

Not sure if I am going to do setting strips. This print cuts up pretty nice on paper so I am excited to see how it looks in fabric.


This is going to be the one I work on prior to class, I want to have a couple of blocks finished to 'show off'. The accent color is really a red/red but I am leaning towards doing this on a black background.


This will be a combo of the spiderweb block and the kite shape. I plan to applique to spead it along.
Here's what I figured out playing with paper.


I do all the centers first and then number the blocks so I can attach the corners.
I love how great it looks in B&W, sure hope it looks just as good in color!

We meet 4th Tuesday night to start on our group project, there should be a lot of great fabric and pattern ideas.


I can't wait to share how we do.- be good cw


SpiderWeb Scrappy

I have been wanting TO-DO a spiderweb quilt for awhile now. The other day (OK a couple of weeks ago) I started cutting strips.

My thought was I would make strip sets and then cut the triangles and then piece to the background 'kite' shape.


Note to self: Make a pattern and try it out on scraps.
The first couple attempts all ended up being made into potholders!
I finally got a block size I liked. Not too thrilled with the background 'salmon' color. It is just too different from my scrappy stuff. My pinks fade in too much for my taste.
I was going for a rough look, not using same size strips. If I do this again I will most likely use a larger strip to start. Last night I decided I just don't like it enough to finish so I border out the sqs that were done and called it finished.


These wedges are harder to keep straight then I thought they would be. Next time I am taking my time and pinning~
After having it hang on the mini-blinds, I am re-considering my dis-like for this piece. I most likely will add another outer border and do some applique- It's never over till it wants to be over.

Wednesday, March 10, 2010

2nd Tuesday March 2010 layer and cut


Dawn has been wanting to do a stack and whack style quilt, she has a perfect fabric picked out nagging her to start. I dug around in my stash and 'found' a couple of prints that made me think- this sounds like a fun idea!
We decided to add the concept to our TO-DO in 2010. Our group meets 2X a month and the first meeting is designed to be one of concepts and theory. The concept is easy enough-layer fabric on the repeats and cut it out- We can DO IT!

For starters we (when I say 'we', I mean Linda) photo copied eight pgs of several fabrics. The gals got to see, how this process works in a 4-patch block (we did several sizes and prints). We explored a 6-wedge, and the traditional 8-pc. Concepts were discussed as to size (what every you like) How many blocks are needed- (depends on what you want to do) and setting arrangements (again, whatever you choose to do).
I have at least a half dozen Want To-Do's in my head and will purpose to finish at least the favorite 2 or 3. (Hint: I really want to make a 16 pc dresden plate in this method)
This was not a class that said DO THIS, THIS WAY- it was more of a 'Here's an idea- what do you want to do with it?"
I am excited to see what the gals come up with.


Squares can be done in any size, both of these were from the same original sq, just turned different.


Notes to remember: Pick a fabric you love the colors of b/c they will define the quilt top.
Do any pattern you like, and in any size you like. There are many traditional quilts out there from classes that were taught in the 80's. This session is not to promote any one 'pattern' but rather to explore the concept of layering the repeats and enjoying the result.
Feel free to join us next time 4th Tue at 6:30.- be good-- cheryl


Each quilter is encouraged to make at least one project to show at our annual ladies dinner in the fall. It can be as small as a pot holder or as large as an elephant blanket (lol) The fun part is we should be able to see how we inspire and encourage each other on to good works.


For me one of the enjoyable parts of this years class is that we are not motivated to each do the same ole- same old. In the past we have participated in Exchange blocks, and traded, did mysteries, round robins, all the normal projects groups tend to do. This year we are headed in an organized individual creative endeavor.


When we gather on the 4th Tuesday of March, we will share what we hope to do, our fabrics, and patterns. We are also going to photo copy our fabrics to test drive our plans.


I didn't get pictures of our cut and play from last night but will edit in photos from next time of our fun with the paper.


Hope you can join us- be good cw