Tuesday, November 29, 2011

S&W finally getting sewn up

I don't seem to do very well working with fabrics that match.  For some reason, I was all excited to start a Stack & Whack style quilt, but lost interest right after purchasing the material.
This wild stash has been sitting around for long enough.

It didn't take very long to cut out the triangles using my GO and dies. The blocks sew up pretty fast too.

I hate to admit that I had these blocks done a couple of weeks ago.  I just couldn't decided how I wanted to set them together.

Lucky for me I had enough of the focus fabric to cut 10 1/2 inch blocks to alternate with the spinning blocks.

I rolled the back sheet to the front for the binding.
Doing the happy dance just knowing that I am using up the majority of this print.  Funny thing is, this is starting to grow on me now that I am close to done.  Do you ever have projects that you have to force yourself to work on, then discover it wasn't as bad as you were making it out to be?


I had an old hospital blanket and used it as the batt.


I like the way this is turning out!


When I asked Jess what he thought I should use on the back, his answer was; "anything with contrast'
 I totally LOVE how this new snuggle under has turned out.  The weight and drape from the blanket make this a heavy quilt.  The Winnie the Pooh sheet on the back just makes me smile.  Merry Christmas, Derrick!

Sunday, November 27, 2011

Orca Bay Blue Strings


I strip cut a handful of 1 1/2" blues to use on the corners.  The rest of the strips came from my 1" pile (left over from my mini pineapple days)
I love using my GO 3 1/2" Sq Die to cut my strings after I have taken the paper off.
Lots of Ideas on how to use these cute blocks!


Monday, November 21, 2011

Another MUST DO from the QuiltMaker 100 Blocks Vol 4

QuiltMaker 100 Blocks Vol 4
Page 31 Block by Jan Krentz Designs- :  Star-ring Buttons

I chose to make my Test Block with a Black background and the ring and star points in scraps.  I love this block even though it is best done w/paper piecing.

Happy to say I have 36 block sets cut out and ready to get sewn up.
To keep the quilt really scrappy, I am adding a setting border between blocks.


This is what I did yesterday.... Took a photo that is- lol

A friend bought this from an antique shop as a Christmas Gift for her mom.
What a beautiful Trip Around the World setting~
I had to get a couple of photos and add on to my TO DO list.  The quilter used 1 inch pieces and hand quilted this beautiful keepsake.

My version will most likely be from 1 1/2" stripes.  Now I have a goal to use up my solids!  I can always use another scrap quilt for our bed! 
2012 is looking to be a year of busting stash- wish me well-  cw

Santas and Keepsake Heirlooms

Just had to share these adorable Santa's.
A peer in our office had these commissioned for her adult children's Christmas presents this year.  All three are custom made and incorporate a wool quilt, furs, jewelry, music boxes, etc.... from the grandmother's collections.
Each has a plaque on the base that has the year and who it is from.  The Santa's are all holding something each child will remember from their Nana.  What a great way to have a one of a kind keepsake for the Holidays.  Makes me think I need to start a display of my own.

On my way with Orca Bay- clue one is almost done!

Funny thing (to me) is that I was NOT going to do this new mystery from Bonnie Hunter.  I enjoyed watching the quilters over on quiltville get all excited about pulling fabrics and waiting for the reveal of instructions.  I was fine with just watching the fun.

Wouldn't you know after reading Fridays post, I (without thinking) went to the stash and pulled enough lights and blacks for the first round directions.

What's a few hourglass blocks here and there anyway?

My rational is I am busting stash and stripping down for a couple of TO DO's I have been wanting to do with my GO 1 1/2" die.  This is a 'round-about-way' of getting more scraps for next yrs mini's.  (Yep, that's my story!)

So to show off the future TO DO's here is what I am working on-
I am busing into the 1 in strips and combining them with 1 1/2 to make a scrappy mini Bento Box.

So far I have been playing with a 3 1/2 block which if set in a 16 patch yields a 12 1/2 block.  This one may take awhile but will be so much fun in the making


I will do a tutorial after I get a bit further along on the technique I am using for this scrappy blocks. -- cw

Wednesday, November 16, 2011

Cheddar Bow Ties

I started the cheddar bow ties after hearing the shout out from Bonnie Hunter to do a Leader and Ender.
I am still working from stash so any/all projects are what ever size the fabrics allow for.  In this case I had a couple of yards of a cheddar on cheddar print that I thought would be an interesting background material.

I used my GO dies and cut sets of 2" and 3 1/2" sqs to do the 5 sq method of the Bow Tie.

I don't have a 'design wall' but my living room floor will serve well in a pinch.  Normally I wouldn't even bother laying the blocks out, I would just start sewing sets together and let the colors fall where they may.  I knew I had 48 of the larger bows and 192 of the smaller. (My thought was to match 4 sets in either the "O" or "X".  The first photo shows some possible layouts.

After getting all the larger blocks sewn, I just wasn't in the mood to tackle the smaller ones.  (Here is where I should have just put it all away for another day!)
I know better then to sew late at night- lol

Anyway I sewed all the 6 1/2" bows into 4 patch "0's" and then set them 3 x 4.  In my head I was going to do a small border and then do an outer border of the 3 1/2" bows.

I don't know if looking at all this Cheddar was just getting to me or what but I took a break and looked for a fabric to separate the two sizes of Bow Ties.

Look at what I found on the shelf-  No Idea where/when it came from or why I have it.
I swear it looks like I pulled from this focus fabric for my controlled scrappy Bows.
After adding a 6 1/2" border of the GOLF material, I was once again in the mood to start sewing on the smaller bow ties.  120 more to go and I can add them to my center.  I think this is the crazy-ist top so far this year- it just makes me smile every time I see it.  Now I need to find a golfer that needs a quilt so I can have an excuse for this one of a kind creation!
These fabrics are from the last century (1980+)  I can't wait to have another late night of mindless sewing so I can get Cheddar Bow Ties to the flimsy stage.

What is the crazy-ist quilt you have made?  Don't you just love when they have a mind of their own?-   cw
Here is a link to the last post I did on Bow Ties

Tuesday, November 15, 2011

Crumb is a Flimsy- w/ a back!!


I took my pictures late last night and the lighting was not the best.  When I tried to clean them up a bit I got to messing around with hues and brightness etc...
This is just for fun, I will post 'real' photos after I get this quilted.

I had finally decided to add a border and chose a dark blue w/roses.  My plan was to make this entirely from stash and the blue was the largest piece I had that matched.  2003 was a good year for blues. lol
I had enough yardage that a back pieced with orphan/test blocks moves me one step closer to a finish.

Friday, November 11, 2011

11-11-11 Corduroy Blog HOP

You Can't tell from this Photo but this big beautiful Red Corduroy piece is being used as a quilt back!  I love the weight and texture of this fabric and I am sure the recipient of this piece will too.

And.....Here's the front!  Who doesn't love a T-Shirt Quilt.  This will be a nice heavy keepsake to take to games and snuggle under.  I wager it will be out on a few picnics in the park too!

Besides in quilts, my favorite use of corduroy is on the back of floor rugs.  Again I light the weight and texture.  This rug is made by sewing strips of double knit directly on the corduroy. 


My favorite use of corduroy and/or double knit is to make "Low Art".
This rug was originally made to be part of a set of curtains for the puppet stage.
It took on a new life as a rug for the grand kids play room.  Again the Corduroy plays well with double knit and combines to make a long lasting keepsake piece.


Tuesday, November 8, 2011

Blog HOP- Guest Post- Cheryl from MO- 4patch background for applique


This is the first time I have been a guest blogger on StashManicure.  Thank you Madame Samm for the invitation and special thanks for not having high expectations.  My theory is if we all have lower expectations we may end up pleasantly surprised!


I started a my personal blog a few years ago to have a spot to document bits of my creative side.  If you have been a visitor you can see that I don't post very often.  When I have started a post on a favorite project I like to edit updates to the same page.  I know this is not the normal way people read blogs but for me I like to have the whole process in one spot even if it take me awhile to finish.

Last year I started block testing for QuiltMakers 100 Block Issues.
I have started a couple of fun TO DO's from blocks I got to 'test'
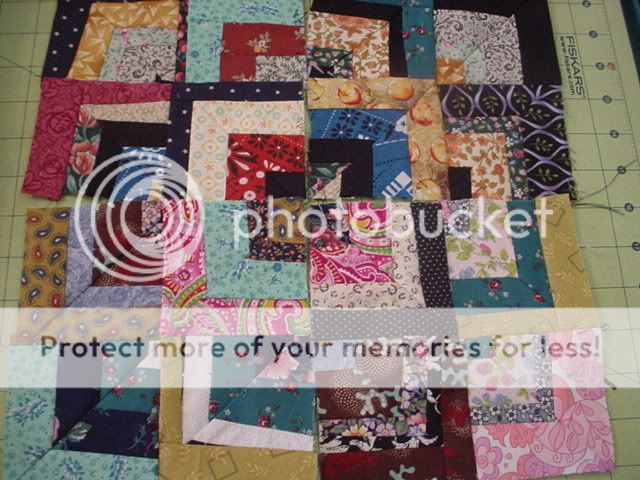
Today I would like to show off one of my favorite blocks found in Vol. 4
Block #343 (on page 39) " Fresh Cut" by Sara Tuttle Khammash

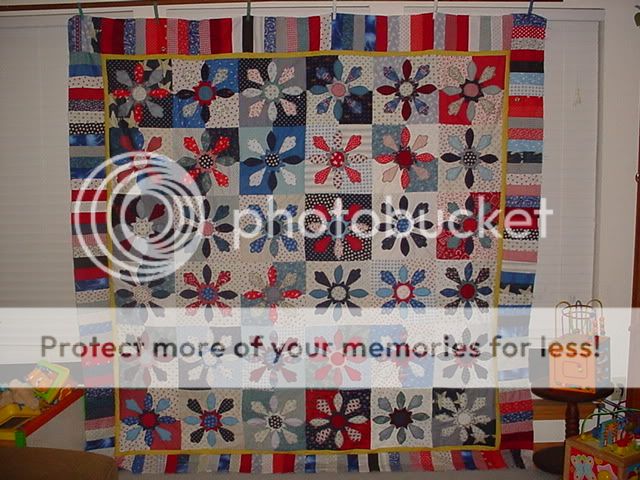
Now it wouldn't be fair to just give you her pattern so I am going to share how my 'test block' grew into an 84 x84 (ish) keepsake.

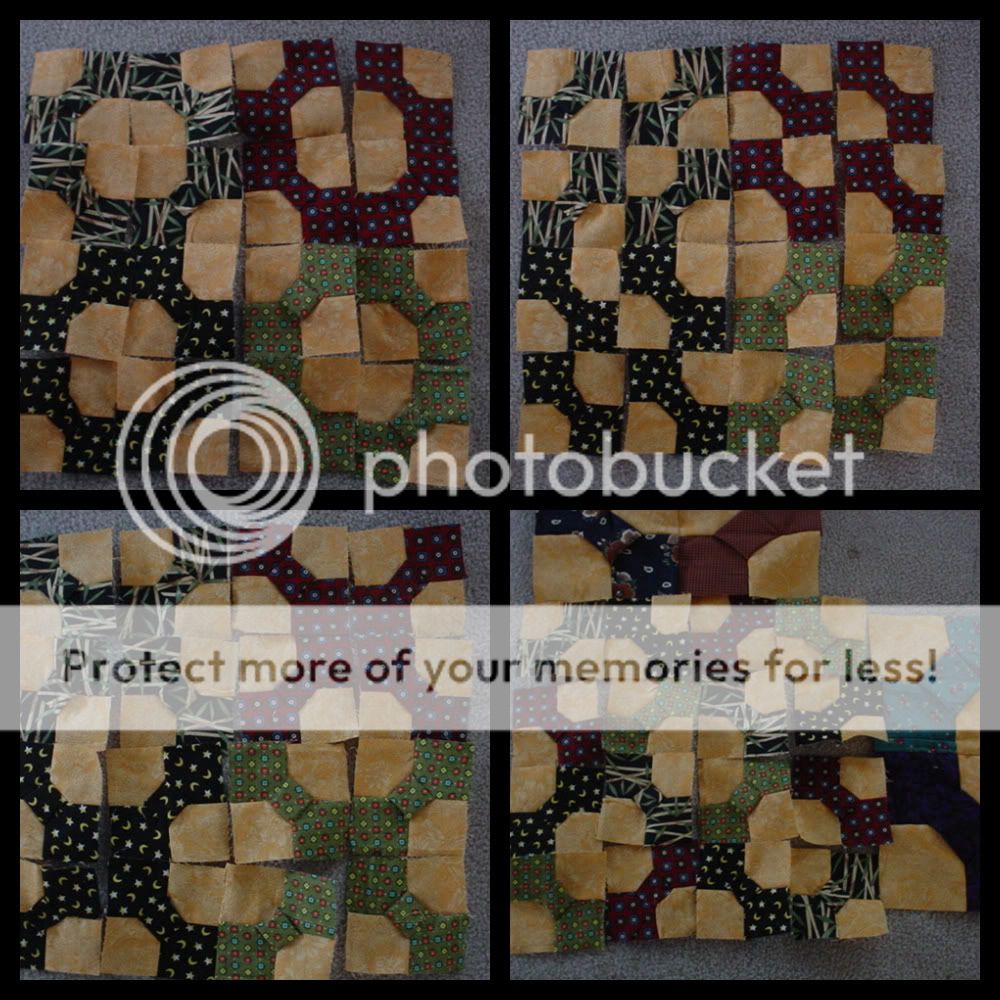
The QuiltMaker blocks in this issue are all 12 1/2" blocks.  For my little Doll Quilt I have scaled it back to 6 1/2" blocks.  The post is to show the process not necessarily the step by step for making the same project. (It is not fun to do the same ole same old, so put your own spin on it)

 I used my GO and several dies along with Sara's applique patterns to make my RW and B quilt.  I used my GO and dies to make the Red and Black/White top.  My grand daughter will be a year and a half for Christmas so I decided to make her a little 'doll' quilt for one of her babies.  I can just picture Breely teaching her dolly how to say "Kitty Cat" and "Doggie"

If you don't have access to an Accucut GO cutter, feel free to use the method of your choice for cutting the squares needed for background blocks.  In my case I used 3 1/2" sqs to make 6 1/2" 4-Patch.  I then raw edge machine appliqued the cutouts to the squares.  I prefer not to use an Iron-On product when I applique.  I am a fan of glue sticks and will use them to tack (rain drops not puddles) my pieces together.  There are many stitches that work well for raw-edge, I prefer a chicken track stitch or an overcast stitch, you may like something else better.

My good friend Pam has a home business in Cassville MO, P Dubs Quilt Stuff. If you are ever in the area and want to see a demo of the GO or BABY GO check her place out. She hosts an amazing fabric sale on Saturdays.


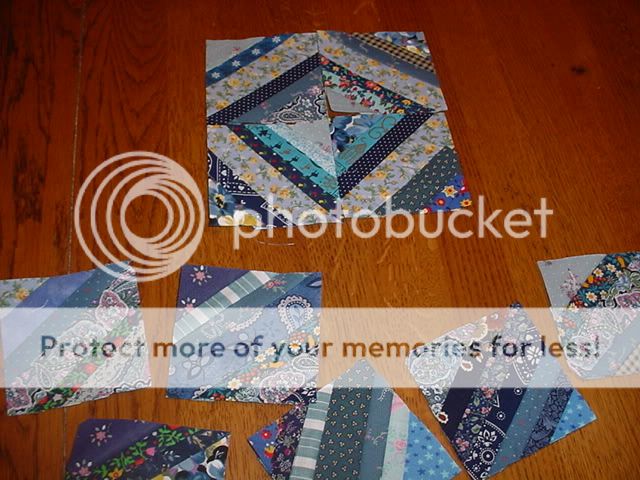
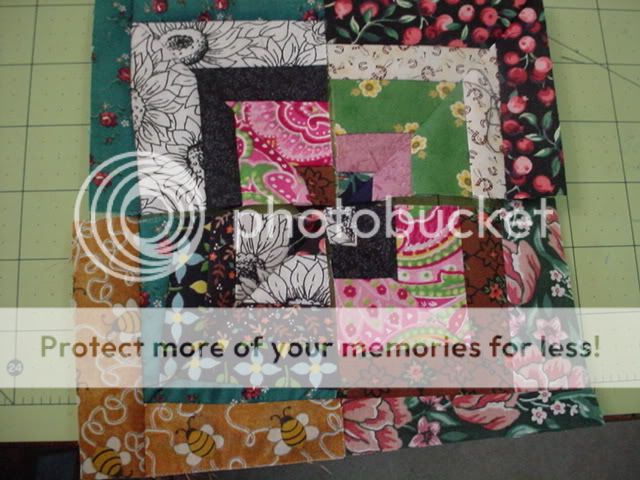
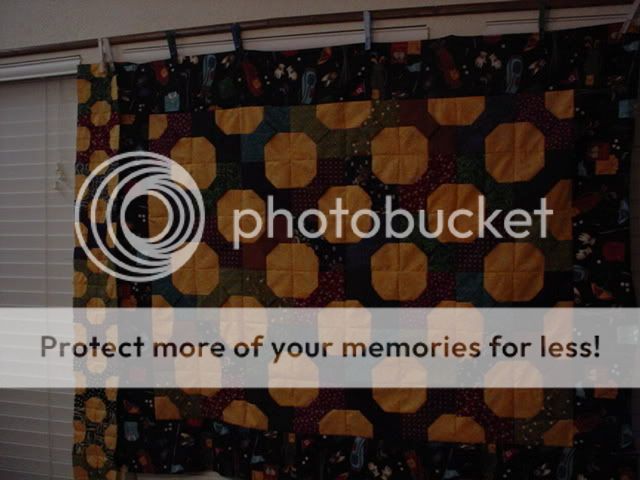
My scrappy interpretation of Fresh Cut

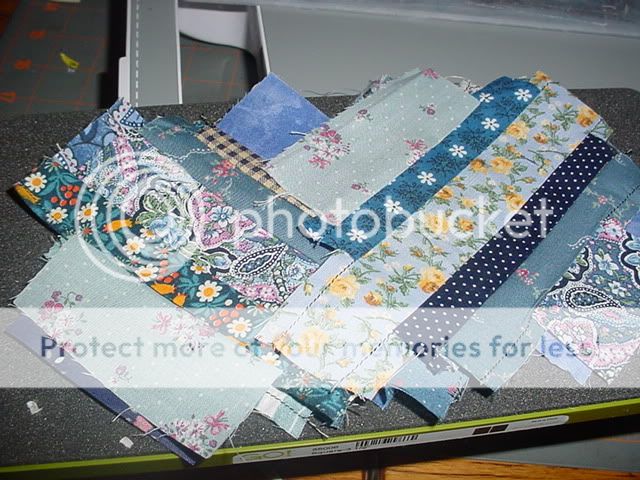
Here we go:  Start with picking out the fabrics you want to work with.  In the case of my scrappy RWB, I grabbed light, med, and darks in Reds and Blues.  I also cut 6 1/2" sqs from my 'whites' and a few red and/or blues.  Sew your background squares into 4-patch blocks.  You can do these blocks in any size you like.  One of the fun things about piecing is you don't ever really have to follow the pattern exact if you chose not too.

Next cut out your applique shapes, if you have dies feel free to use them to embellish your blocks.  This pattern would look great with hearts, pumpkins, snowmen or anything else you can think of.

After you decide on the size and number of blocks think about the setting strips.
In my first quilt I set the blocks side by side. Then I added an narrow inner border and added 6 1/2" piano keys for the outer border.  For my Doll quilt I used a 1 1/2" strip and setting squares, I am pleased with the finished size.
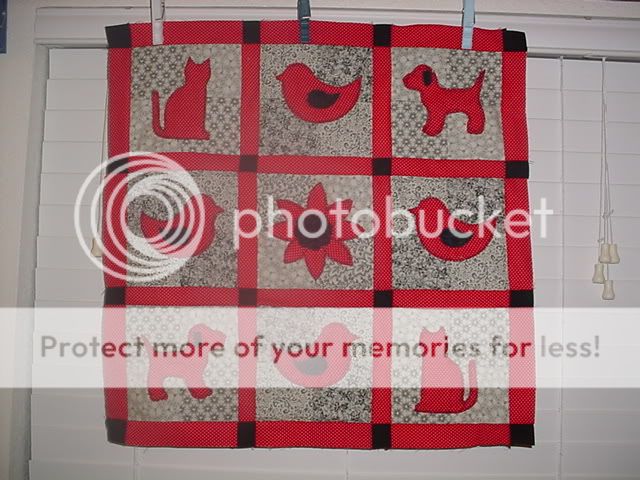
Baby Doll Quilt top

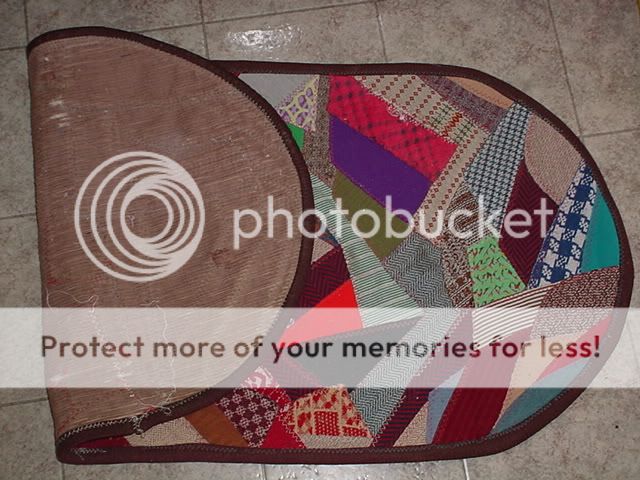
You may be wondering WHY I added a photo of my foot pedal to the collage.  The answer is BECAUSE I wanted to show off my mini rug
(I am weaving from loops-potholder style!)

If you have any other questions feel free to ask in the comment section.

Hopefully I have met your expectations, thank you for the opportunity to show off a new favorite block.  4-Patch w/Applique.
be good  Cheryl

Thank you to everyone who commented over on Stash Manicure I have emailed Madame Samm to add the following to my post, I will honor the same for my Readers here:
I really don't mind sending a set of 6 or 12, cats ,birds or dogs, or mix per Self Addressed Stamped Envelope (that way I don't have to $$ postage) the appliques will be in Brights, and from scraps. IF a person were to send a fat quarter, I would be willing to die cut shapes from it and return, I get the scraps for my crumb pile. Readers will have to mark the front of the return envelope with a 6 or 12 and write dog, bird, cat, or MIX
It is up to you if you think you would like to take advantage of this offer (I seriously have so many scraps it is scary.  Let's limit it to post received by the end of next week.(Nov 18th)
cheryl willis
23598 lawrence 1100
monett mo 635708

Saturday, November 5, 2011

I am guest Blogger at SewWeQuilt@Stash manicure, join me on Nov 8th

I am still working on putting together a fun tutorial and a fun give-a-way, I hope you all join me next week.-  be good  cheryl

 
Friday, November 4, 2011 1:04 PM

Message body


First none of you are SQUARES
but you are asked to do blocks
for our NOV, theme Block Month..
I am sew excited to see what you will come up with ..

Here are your dates...
Mrs Katherine Monday-Nov 7th
Mrs Cheryl Tues-Nov 8th
Mrs Alice Wed Nov 9th
Mrs Connie Wed Nov 9th
Mrs Elaine Thurs Nov 10th
Mrs Kathleen Friday Nov 11th
Mrs Marcia Nov 11th

.
Thank you for participating I am sew excited for you ...