Showing posts with label give-a-way. Show all posts

Friday, February 22, 2013

5 Minute Block, part II

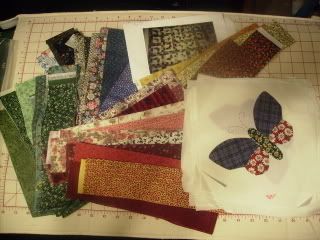
Yesterday I posted about working on block to bust some old calico stash.  Doing the happy dance,  this top is done!!   It is very rare that I actually go from cutting to sewing to top.  Proud to say this one took a total of 6 hours from cut to ta da (time)  I started cutting yesterday and sewed 4 rows, just to be sure I 'liked' it.


Now on to piecing as much into the back as I can.  The rest of the calico fabric is going out the door to the first person to holler 'dibs'.    Happy Happy day, I just freed up space on my shelf to start another 'collection' - lol
Looks like my 'snow days' are behind me.  Two full days of showing properties coming up now that the snow is melting.  Fingers crossed the first one is the one the buyers love.  Wouldn't it be great to get to sneak in a bit more sewing- lol

Wednesday, September 14, 2011

Crumb Along- Join ME?

As a disclaimer:  I did not start this, she did- lol  Did you see the new button on my side bar?  I think I am getting addicted to adding buttons!

Run over to JO's Country Junction and check out the  instructions and then join us in making a crumbie quilt!

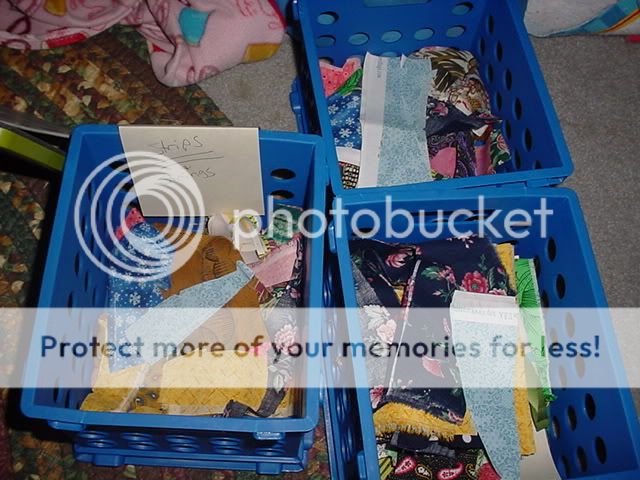
To help out the non-scrapers and cross a Give Away off my list,  I will offer a good size hand full of scraps to get you started.

To Enter, leave a comment here and I will have an impartial third party do the drawing.

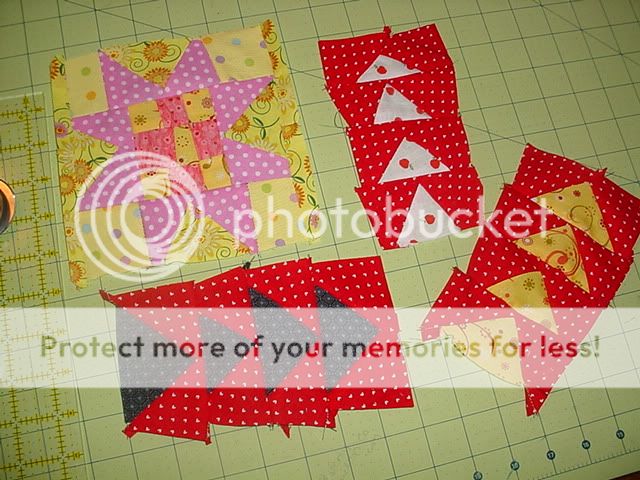
I am working on my flying geese, need to decide how I want to turn them into blocks.

Wednesday, March 16, 2011

Another Butterfly border-

Favorite DIL, Kelly asked if I had a quilt she could use for a wedding gift. I let her pick through a few tops that were made with her in mind.
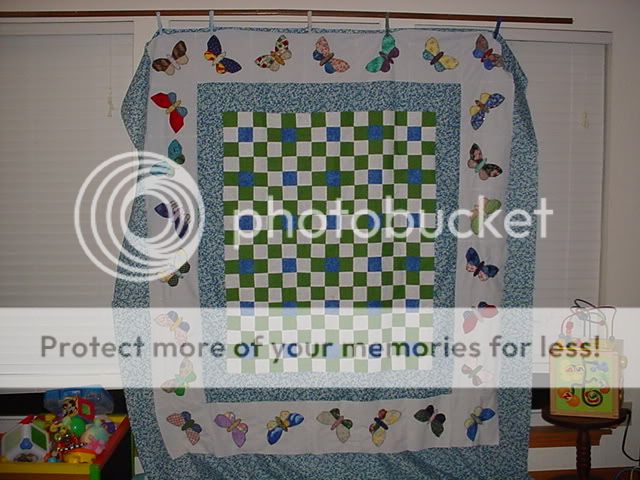
Of course she wants to keep those for her personal collection (I don't blame her, she might have a fight getting them from me when she is ready to quilt 'em!- lol)

I have several Works in Progress that just haven't decided what they want to grow up to be.
Today the "Green and Blue Squares" got a chance to move up from a child's top to a future gift to celebrate friend's vows. There is just something about scrappy butterflies that make plain tops come to life. The blueberry print border fabric will be used on the back and as binding material too.


Funny thing is I started this top over 5 yrs ago. I did strip piecing and sub - cutting and after a few blocks was just 'sick' of the blue and green. It sat for a couple of years until it got sewn into a small top and added to my "Gift It" pile.
About a year later I needed a baby quilt for a shower and added the blue border. I changed my mind on the gift for that child and this top went back to the waiting list.

Kelly will do the quilting sometime this week and I will bind it for her. I am so thrilled to get to use more scrappy butterflies. I swear these can go anywhere. I have gotten to where I just have little baggies with sets in them waiting for projects to liven up. Lucky for me, this set was already tacked to the background blocks so they were easy to raw edge applique.

Earlier this year I purposed to do at least 11 Give A Ways on my Blog. I know this is not the 11th of the month but I would be happy to send out up to 11 sets to readers who do not already have a set.

Leave a comment, I will figure out a fun way to pick the winners. Do you have a small top that could use a beautiful scrappy butterfly border to help it grow up?- be good cw

Wednesday, June 17, 2009

Butterflies, a mini tutorial


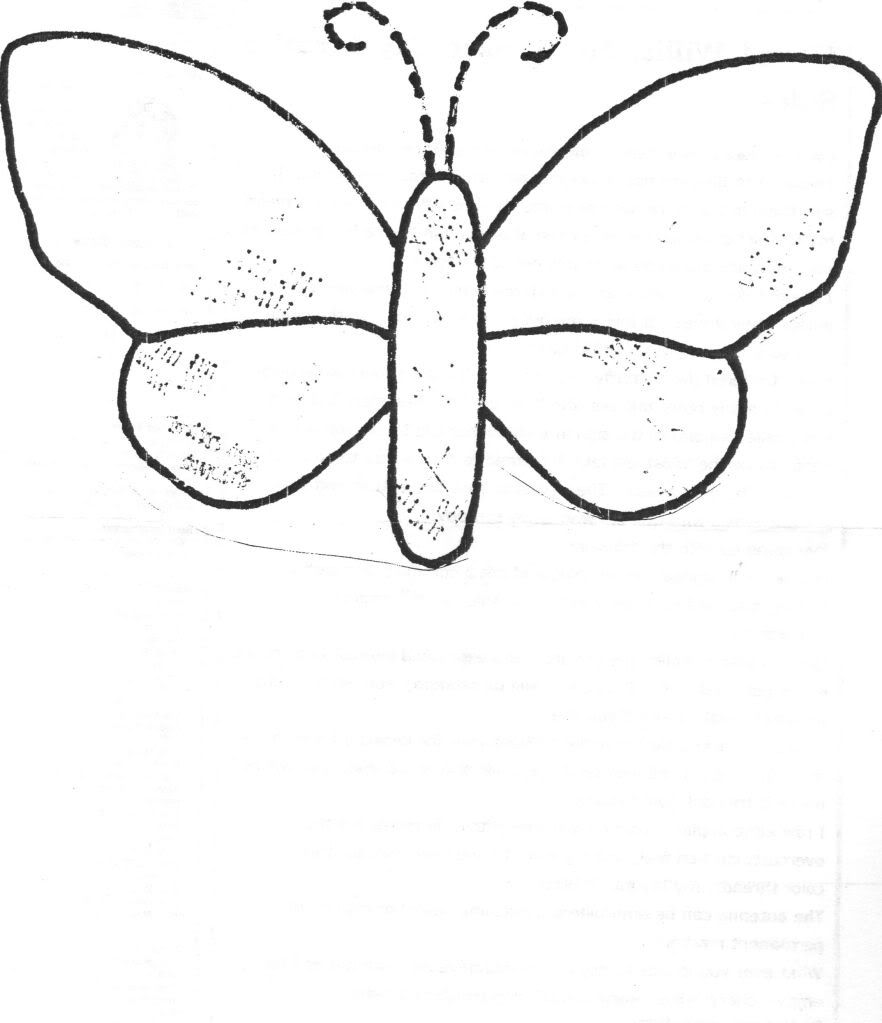
I have been meaning to do a little 'butterfly' tutorial for the folks who requested packets of these little beauties. The give-away went pretty well. Everything got mailed out (only a couple of days late) and I have heard back from most that they have received their new TO-DO scrappy project.
I am very excited to 'see' what becomes of my former UFO's

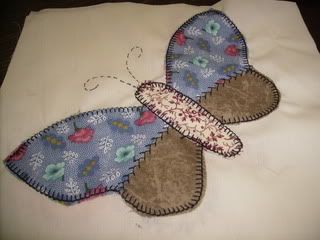
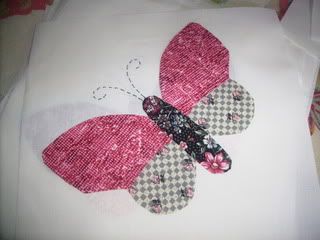
Step 1: Place your 8 1/2 (or larger) background fabric on the paper pattern I sent you. I like a diagional setting- but do as you like. I lay out my wings and tack to the background fabric with a glue stick. The machine stitching will keep it secured, you just want the glue to hold it in place. (rain drops NOT puddles w/the glue)

Step 2: Use whatever stitches you like. These were intended for raw-edge applique. I have seen then finished by hand, colored threads, indivisible thread, overcast stitch, zig-zag, chicken track, and various others. The only one I am not a fan of is satin stitch b/c the pieces are small.
I prefer an overcaste stitch on the outer wings. (this example is a little small for me, but I forgot to set my stitch length. -my bad)
I like to do a chicken-tracks or a zig-zag down the middle of the wings to secure both sides.

Step 3: Do the Antennae in either embroidery, machine stitch, or my favorite permanent marker!


These can be set in numerous ways. (again with the scrappy) I like a 2 1/2" sq and tend to use them in strip sets a lot. (That's why I use an 8 1/2" background)


I sometimes like to use a solid fabric in the lower wings and body.
Still scrappy but a little more controlled.
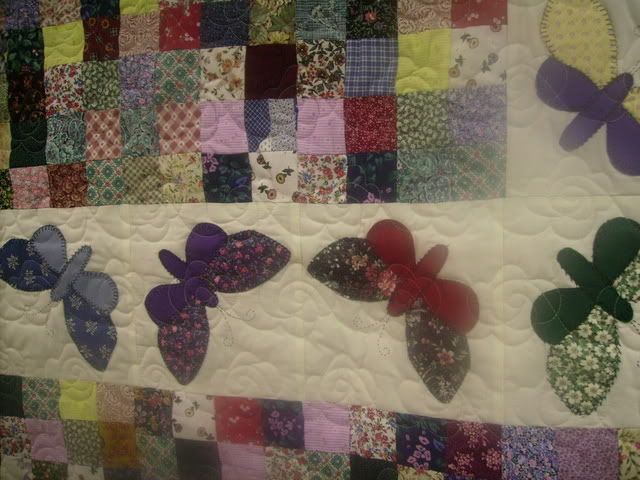
Finish your piece in the style of your choice and when you get time, share a picture.

I seem to like to quilt flowers on my butterfly quilts.


Many THANKS to all who took a set to work on, I hope to see many, many butterfly projects finished this year!


be good cw