Showing posts with label utility quilts. Show all posts

Wednesday, July 21, 2010

Thrift store finds

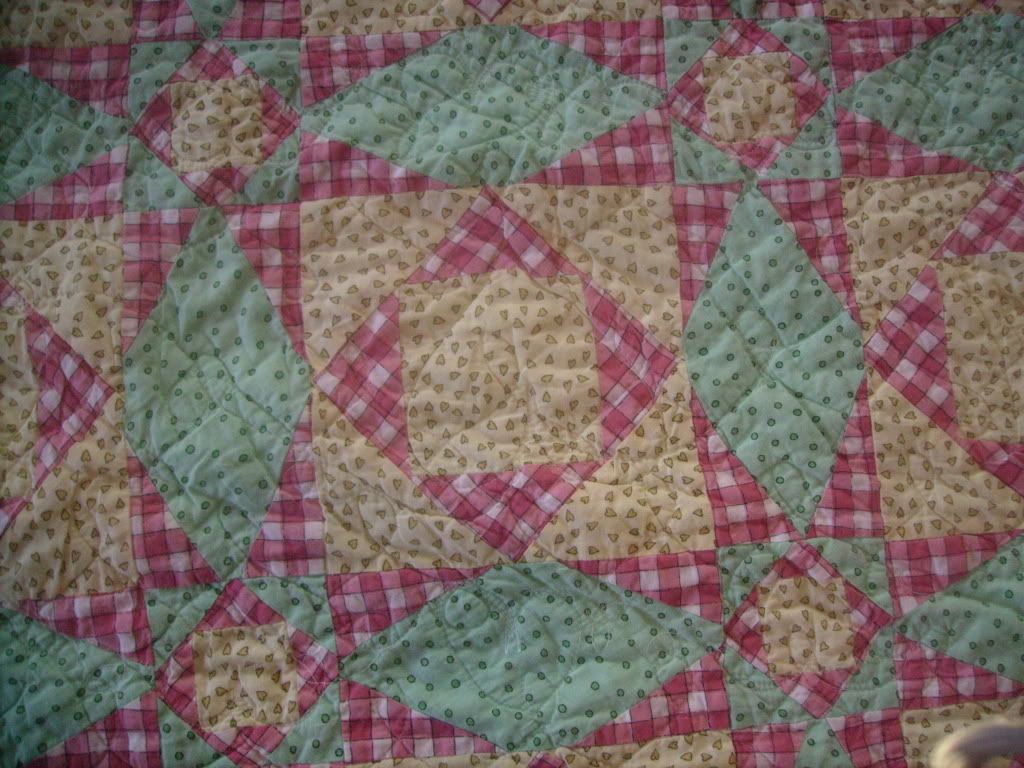
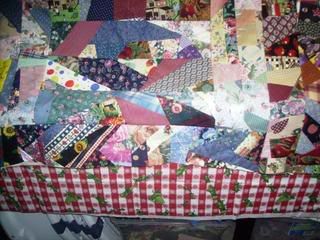
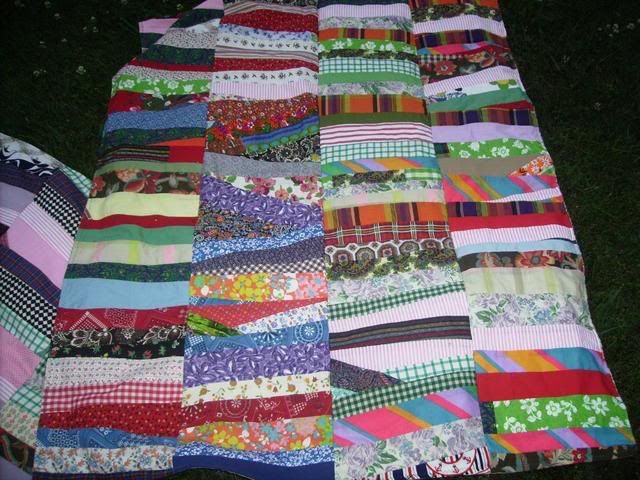
Hand sewn and hand quilted. Too wonderful to pass by. There are a few places that need mended. I think I may have blocks from the same period that I can applique over the worn spots. I love this quilt so much I bought a couple of quilt racks so I would have something to hang it on.

Good Bye NO Buy.

Twin size = good shape=$20.00

I think this was most likely made in the late '50's from scraps.
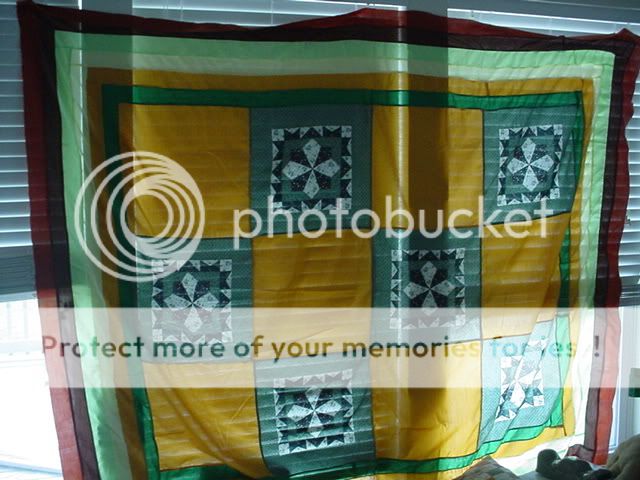

Full size UFO- top. I will quilt and use as a donation piece. Panels set with cheddar and 5 borders. I can practice 'quilting it out'. I may un-sew a bit on the borders to square them up.


Always a fan of good feed-sack material. These four are in excellent condition. I have a couple of drawers dedicated to this collection of materials and 'some day' will have to start on the many projects in my head to use them on.


I don't normally pick the solids (trying to bust what I have on hand first) but these are all good size pieces that I should be able to work into a scrappy project.

Do you remember Cabbage Patch Dolls? This one was .50 cents. Karlee is going to help me make a dress for her. I am hoping that 'make' a dress means look for one in the doll drawer that fits.- we'll see.


I totally Love, Love, Love playing with stuff you can build with. Throw in a couple of marbles and I am ready to quit my day job and play all day. Kids had a blast figuring out how to assemble the pieces to keep the marbles moving from level to level.

I also got a couple of coffee cups (I am way too addictive to coffee cups) and a tea pot with strawberries on it for Kelly to use with starter plants.
We have the best Thrift Store ever. I always find something and the prices are too good to be true. I have had a very busy couple of weeks with clients. This was a nice break getting a few minutes to shop. Grandkids are spending the night tonight and we hope to sort and put away all the goodies I brought home.

Monday, September 28, 2009

Almost to Scrappy even for me-

When I was gifted this “quilt top” the 24 blocks were sewn  4 x 6- I put it aside b/c it was so puckered there was no good way to quilt it.  I considered just tying it but because of block construction that wasn’t going to work.

My best guess is that the original quilter started to piece the blocks from scraps that were handed down to her.  The hand stitches show several skill levels.  Quilter number two attempted to finish some blocks before deciding she didn’t “hand” sew.  Hate to be the one to tell her that she doesn’t “machine” sew either.

My plan was to take the top down to just blocks and re-size (square up) and re-set.  Plan B was going to be just use the blocks as examples of ‘what NOT to do’ when sewing.  Plan C was to just throw it all away.  After getting it down to block size it was obvious that re-sizing wasn’t the answer.sept 09 006sept 09 005

The blocks were un-stitched and/or cut back into the 9 pieces that made up the block.  In this case 9-patches and setting strips that I was able to press flat enough to re-size and then re-sew the blocks in a smaller size.  What started  as a 12” block ended up at 10” sept 09 025sept 09 024

Four of the blocks were just in too bad of shape to mess with.  The top looks like it was made by a gal smoking crack BUT it does lay flat and will be able to be quilted!  Yeah another utility quilt for taking to the park.

 sept 09 023

This one kinda grew on me as I worked on it.  I always say there is no such thing as an ugly quilt.  I may have to re-think my philosophy!

I am considering a border of butterflies to help enlarge this piece- don’t hold your breath- I have already spent more time then I wanted too on it.  At least I didn’t throw it away.  (Bet that mean’s it will turn into a family favorite!

I can see myself doing this pattern in scraps and solids and strip piecing it in a larger block.  I think an 18” block would give me room to appliqué in the center sqs.  I’ll post a link if I get around to it.  cw

Sunday, September 13, 2009

I need your TWO CENTS Plz--


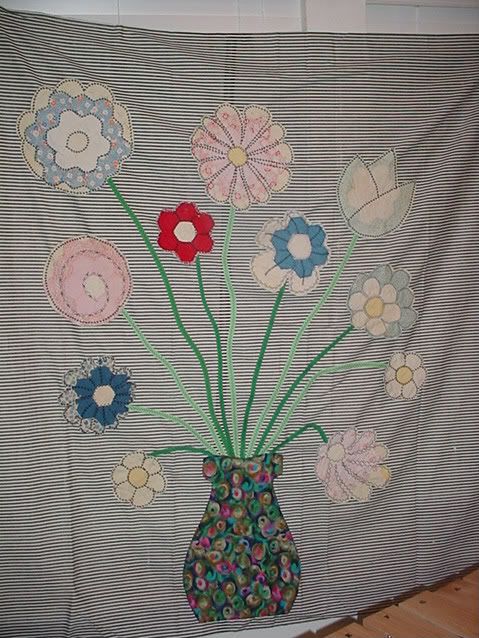
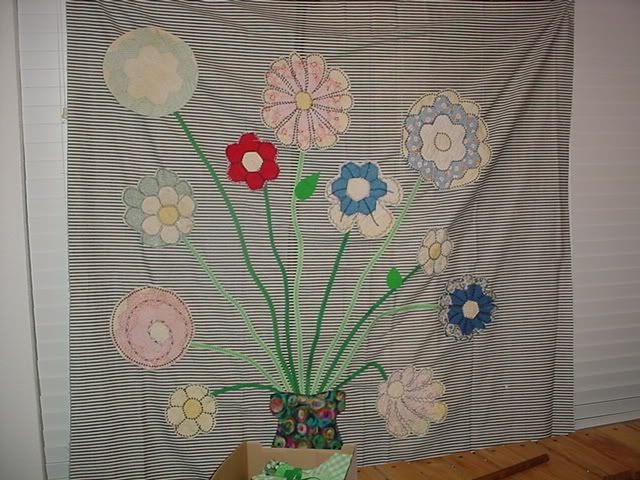
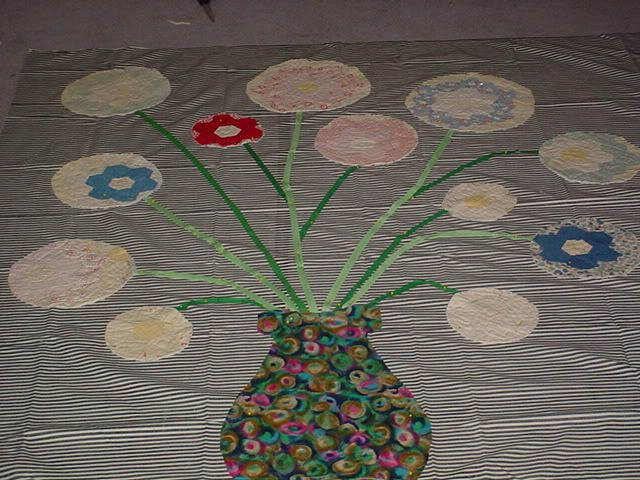
Wed. update-got the last of the flowers pinned up. Now need to decide if I like the lay out and then applique to the back ground. Hope to work on this after church tonight and start adding leaves tomorrow. (I sew early AM or later PM) I of course post when ever I can get to the computer!!- cw


I hope this project will be short and sweet, Start at the bottom of this post to see the progress!

Tuesday evening update-
this project was started on Sunday when a couple of girls from church came home with me to 'help clean'. Pre-teens are just the best!- This is our version of 'cleaning'.

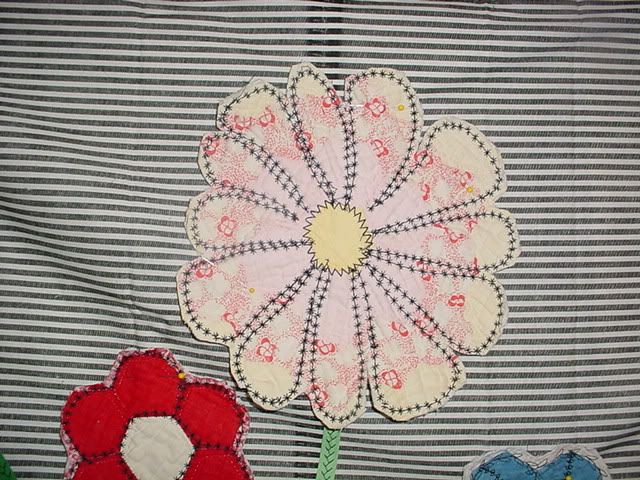
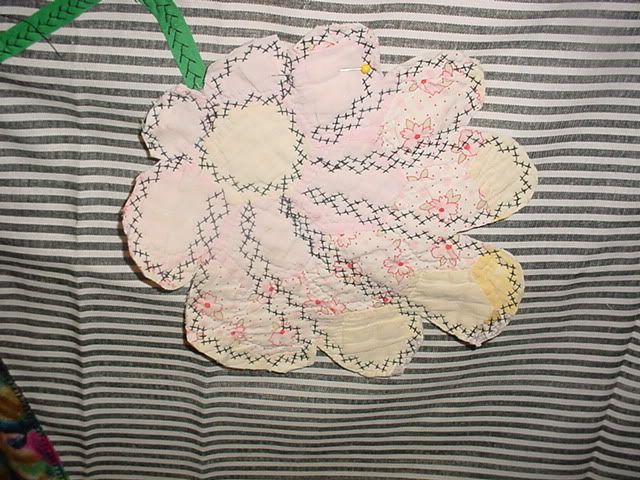
Today I played with a few more of the flowers, these are so much fun- I love decorative stitches!!


These flowers took on a life of their own. I still need to applique to the back-ground and add leaves. This is going pretty fast!


MONDAY:


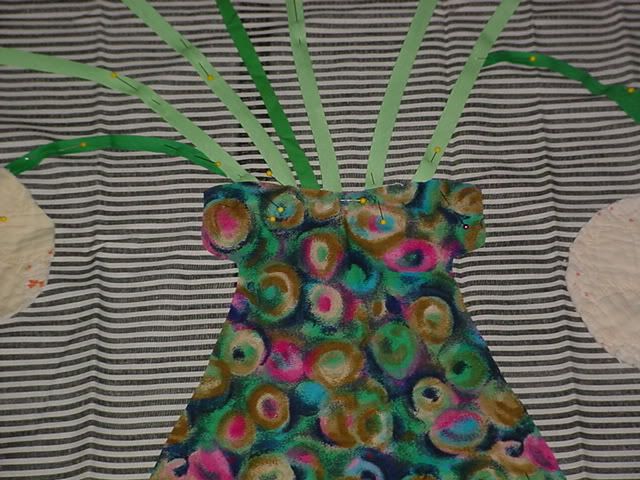
Yeah, I got about an hour to sew this evening. Appliqued the vase and stems to my background fabric. Realized I can play with the flowers before I sew them down.


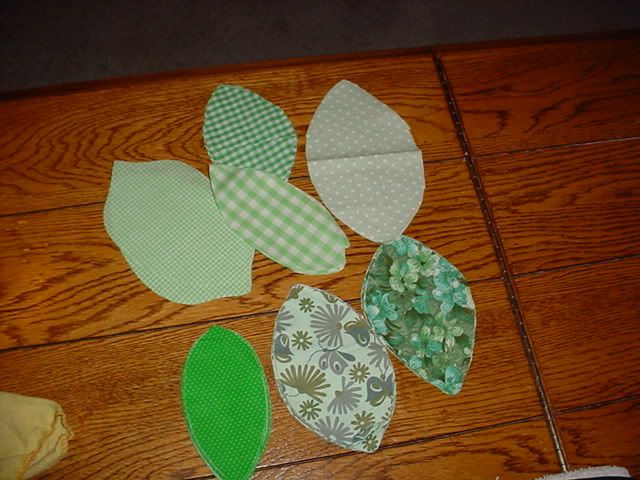
Decided on a size for the leaves, now just need to pick multi fabrics or just the 'green' one. I love the Swiss so I may go with it. Either way I have enough leaves cut out.


There are more on the floor-lol


Here's today's edit- I think I am going to applique down what I have and worry about leaves later. One suggestion was a narrow leaf and I am liking that idea. I took out a flower to make it an odd number. Think I can add one of my butterflies to the space on the right.

On paper it looks like I can applique the flowers to have a little more petal detail. I am not much on art quilts but like to play every now and then when doing one for fun.

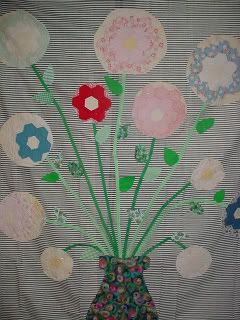
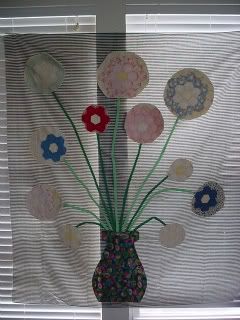
56" x 56"


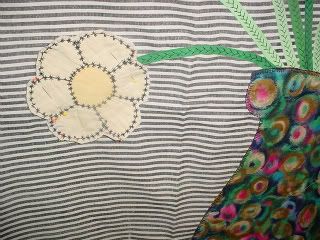
Love this fabric that I used in the vase!


The "flowers" are left over from my sisters fix-er-up-er. (Plates from a cutter quilt top)


The stripe back-ground is a flawed piece. The vase is a couple inches off center to hide a blob.

I need HELP figuring out the flower stems- (after seeing the picture I am thinking I want to give each flower it's own stem)


I plan to add leaves but haven't decided if I am going to do them before or after I quilt the top. (I might sandwich the leaf with batting and go for a 3-D look)


I am planning to raw edge applique I just need little help with the final placement.

I did print a black and white pg and am going to practice drawing the stems to see if I can come up with something I like better.

The 'stems' are bias binding that I had from other projects.


These are some of the fabrics for the leaves. They are too large so I am looking for ideas on a 'shape' to aim for.


Any and all ideas are welcome.
This project is on hold till tomorrow night, so feel free to jump and and think for me.


be good cw


Monday, August 24, 2009

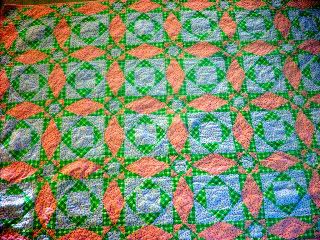
From the Archives: Storm at Sea

As a Disclaimer:

This photo was manipulated on PhotoBucket.

The true colors are not near as exciting!

One of the peers was inquiring if 'anyone' had made a Storm at Sea.

I have only made one.

It is on my LIST TO DO again when I have the time.

This couch size one was made just to see if I LIKED the pattern. It cracks me up when I see it (we still have this in our 'collection' for the kids to use when they are visiting)

At the time I had the urge to sew, I didn't have a collection of fabrics to pull from and didn't have the desire to go shopping. (I know- what was I thinking) I had 'seen' this pattern in a mag. It was designed to be paper pieced. Of course I knew I could do it quicker (No one really cares about points on the stars- right?)

For some reason (I don't remember why) I had a couple of yards of these three prints. How can one go wrong with Red, Yellow & Green!

This quilt was sewn in a weekend and originally 'tied'. A few years later I practiced machine quilting on it and it has several border to border patterns. Don't think I am going to worry about it falling apart any time soon.

There is not a label on it so I don't know the date, most likely late 1990's. I do remember strip cutting the fabrics so it has to be after I got a rotary cutter. I didn't paper piece it, b/c I have always preferred a little wiggle to my work, even when I am just practicing.

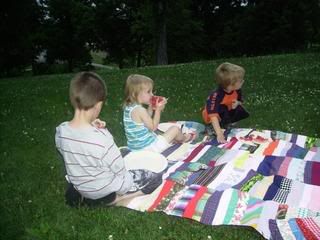
This utility quilt has gotten a lot of use and visited a few parks for picnics. On my TO-DO list to make in scraps I hope to do Dark, Med. & Lights or possibly R W & B.


Thursday, June 18, 2009

Butterfly Me to the Park....

This is the top I started earlier this week that was suppose to be a scrappy rug.
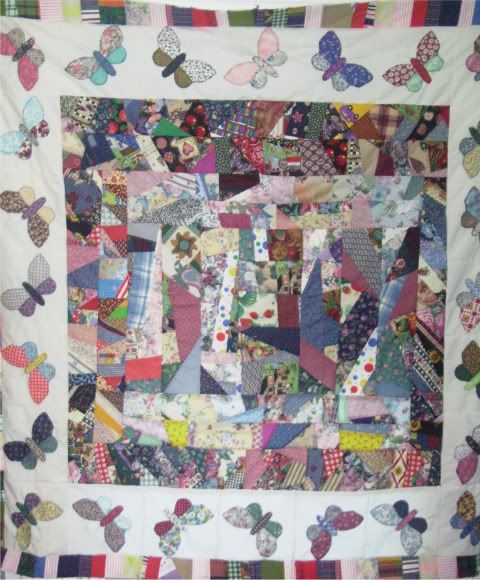
I was making a few butterfly blocks to show a How To and decided they would be perfect as a border to my now "newest utility quilt". I think I will name it: Butterfly me to the Park

I trimmed my center to 40 1/2" x 40 1/2" and added butterflies all around. I had just enough of the pieced strips left to cut a 3" outer border.

Top measures 60" sq. I will use a thicker cotton fabric for the back and no batting. The strips were originally set on sheeting so that will give me a good weight.

I haven't decided if I am going to machine quilt it or tie it. I like both for drag along quilts. This one is prettier in person so I may quilt it and save it for a gift.

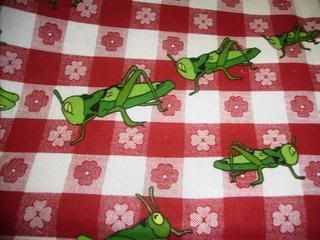
Now I just need to come up with something to use those green grasshoppers on!


For some reason, I seem to find it humorous that when I write a post on a project I am working on that by the time I finish it has changed (the project and the post). Here's where you can see my grasshopper material.
I am seriously thinking I need to make 24 'crumb blocks' to mix with another set of scrap butterflies- I am kinda liking how they play so well with scrappy pieces.

Tuesday, June 16, 2009

Picnic Quilts part II

Don't ask me why I am up so late posting- it's a long story. I just did a quick write up about using strips to make a utility quilt to have for picnics (all who like to picnic say "I").


Here is a quick tutorial on how my brain works late at night or how to have fun with someone else's strips.


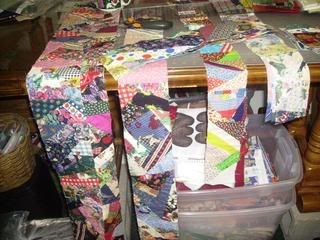
I had several strips of different widths from my friend, HOPE's stash. Over the years when I laid them out, I imagined I would follow in her stitches and turn them into pot holders or table runners (how fun would that be to use decorative stitches on the seams and have a lovely piece to have out when company comes to dine) A table runner was highest on the TO-DO list until I realized just how many seams there on these babies.


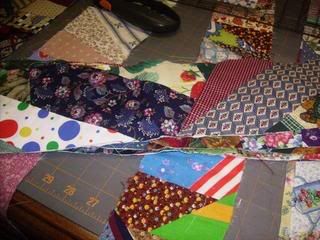
Not only were the pieces different widths, they were all different lengths too.


I decided to limit myself to an hour start to finish. This is what I decided to do:


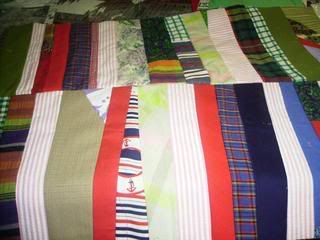
There were 6 small strips all about the same length. I sewed 5 of them together to form a rectangle for my middle. (Not "My" middle, the middle of the quilt) At this point I am leaning towards a rug that I can use as a gift.


After the 'center' is sewn, I straightened up the edges to prepare it for the next strips. I decided to add rows in a court-house style. This way I didn't have to worry about width of each row. Sometimes on the thinner strips I would sew two together before I added them to their side.


I trimmed up the edges each time but didn't 'worry' about width. I planned to use the longer pieces to start going around log-cabin style. (But I didn't) Don't you just love a having a plan and not sticking to it?


After a couple of court-house rows, I had to make a choice between having material for two rugs or one small quilt top. Even though I really need another rug (just kidding) I went with the small quilt idea.

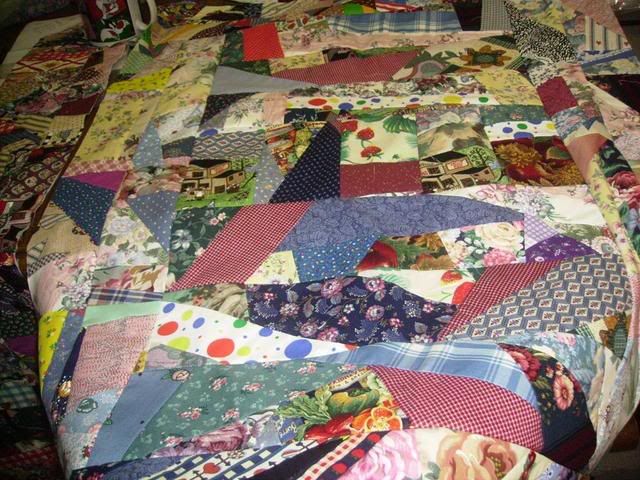
After all the rows were added it measure a whopping 42 x 48 (ish). I can't wait to pick out a fabric for the back- this one is going to get a cotton back and machine quilted with a batting to make it thick enough for a play quilt (if I am good enough to share with one of the babies) or make a travel quilt to carry in the car.


Here is the top laid out on its new backing. I 'found' a fun material that is 60" wide. Not the traditional "ants coming to a picnic" This one is jolly green grasshoppers- probably a good thing I stopped to jot this down, maybe I can sleep on it and change my mind as to the backing in the morning. (For some reason that fabric is starting to 'bug' me.)


See what I mean.....
Keep it
or
Sleep on it?


I am open to suggestions- cw

Monday, June 15, 2009

Scrappy Scrappy (Strips from HOPE) Utility Quilts


When Hope passed away her daughters gave me a couple of boxes of her scraps. I have been working the cotton in to my projects for several years. Hope loved to strip piece and was know in the area for her lovely scrappy place mats and pot-holders. I received a small sack of strips she had sewn onto old sheets. I would think of her every time I pulled them out and put them back. I just didn't have a project I 'had' to do with them....until Saturday.


Our church was having a 'watermelon' in the park get-together after Sunday evening service. I really wanted a take a new to me park quilt and HOPE's strips were going to be the perfect pieces to use. I have been doing my best to work from stash and had several thick fabrics set aside for utility quilt backs. HOPE's panels sewn on sheeting gave me a nice thickness so as to not need a batting.


This made such a neat utility quilt that I had to make two. When asked 'where' I got the colorful quilts from, I replied: "A friend helped me, she did her part 12 yrs ago, I did mine yesterday!" What a fun way to remember a friend that was such an influence on my quilting.
I credit her for me not ironing, or using pins (just kidding-)


I haven't decided if I am going to "tie" these or do a quick machine quilting. I might just do a zig-zag down the strips and call it good.
The smaller one is about 48 x 65 (ish) The larger is 60 x 72. Both are going into my private collection.
I hope to get many, many picnics out of these before I pass them on to one of the kids. The "left over" strips from this batch were sewn into a 36 x 48 piece that I plan to quilt and use as a rug. I may even use some of my 'fancy' stitches on it to add texture and embellishment. The rug will be used in my sewing room (until one of the kids swipes it for their house).
I zig-zag stitch around the edge for decoration so I don't really have to tie the quilt. These are fairly heavy and not likely to 'blow' away. On my lighter picnic quilts I set a weighted bean bag on the corners to keep the breeze from turning it into a kite. be good cw